Keeping your car clean is much more important than most think. Not only does it keep your vehicle looking great, but it also helps fight off depreciation and can increase the resale value.
A car is a considerable investment, so it’s wise to keep it in top shape. Most people choose to pay for professional car valeting services, but these can be expensive. Others decide to wash their own car but only complete a few of the overall cleaning tasks required.
In this article, we guide you through the process of valeting your car like a pro. By the end, your car will look like it just left the showroom, and you’ll save a small fortune in the long run.
You will need to invest in some car detailing products to help you get the job done right. But, this is still more cost-effective than paying for car valeting services.
The Professional Car Valeting Method
1) Wheels Go First
When valeting a car, the wheels are always the first task. The reason why the wheels get washed first is that they’re the messiest to deal with. If you wash your car and leave the wheels until last, you risk undoing all your hard work.
To clean your wheels like a pro, you’ll need a professional wheel cleaner, an alloy wheel brush, a detailing brush kit, and a pressure washer. Never use shampoo on your wheels as it’s not formulated to lift dirt and grease like a wheel cleaner.
The first task is to spray the cleaner over each wheel — make sure you don’t miss any spots. Then all you have to do is wait for 10-15 minutes while the product lifts the dirt and grease from your alloys.
Now, get your alloy wheel brush, and give each wheel a gentle scrubbing. Try to get into all the nooks and crannies. You can use your detailing brushes to get to the hard-to-reach places. Focus on the spokes, rim screws, and barrels of the wheels.
Now use your pressure washer to rinse all the suds away. Make sure you remove all the suds, and if you don’t have a pressure washer, your hose will suffice.
2) Pre-wash

Not many know that the pre-wash stage of cleaning a car is the most important. Pre-wash products like snow foam are specially formulated to lift dirt and grease from the paintwork, ready for you to rinse off before you start to shampoo.
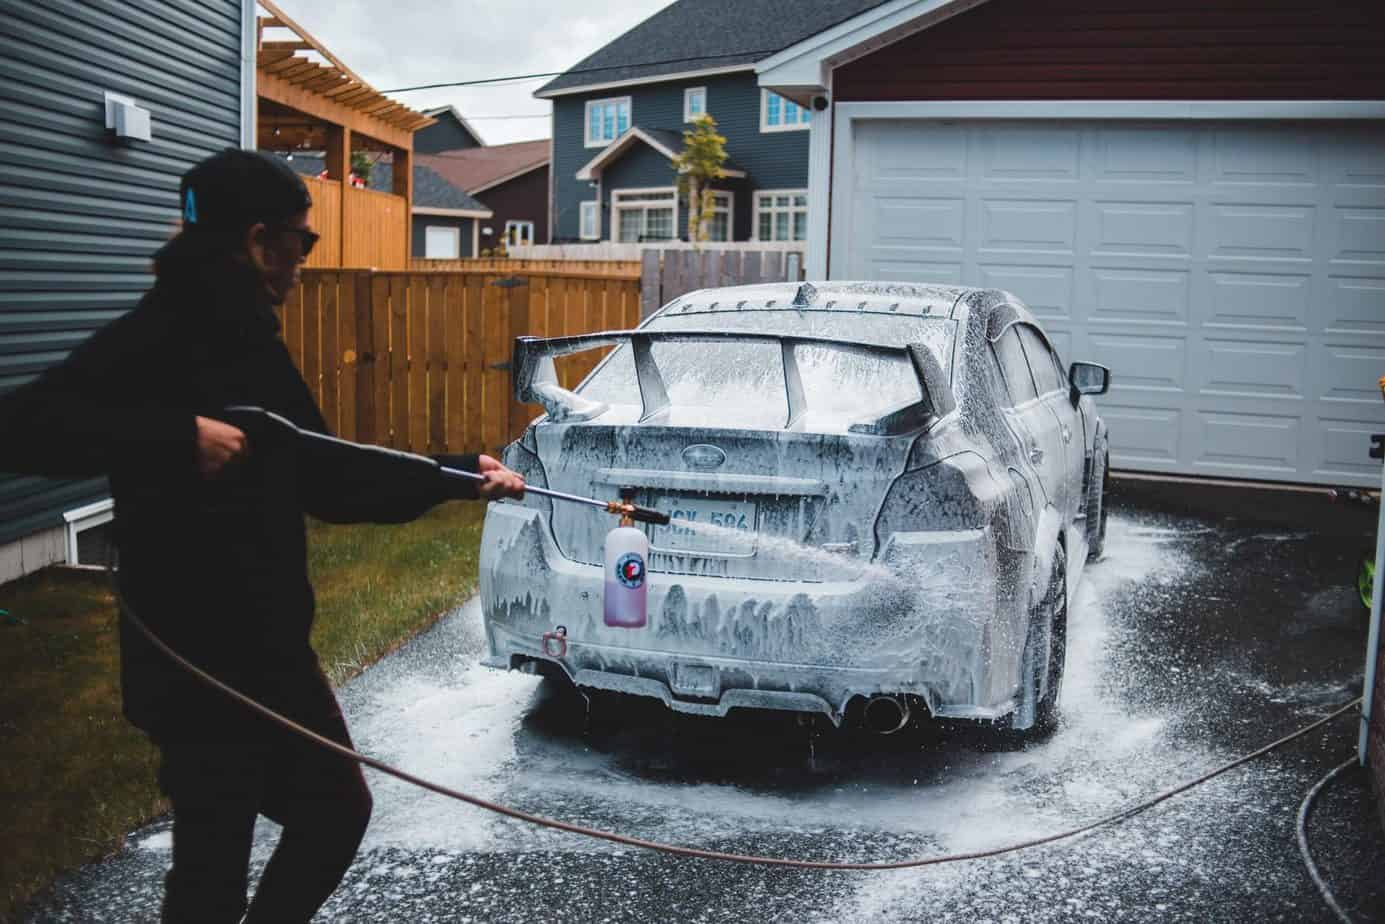
Using snow foam can help to do a lot of the hard work for you. If you don’t know what snow foam is, you may have seen those fantastic photos of cars covered in what looks like “snow.” It makes for impressive photos, but its cleaning power is even more impressive.
Snow foam is the preferred pre-wash product of car detailing professionals. To use one, you will need a snow foam lance that attaches to your pressure washer. You can then spray the foam and cover your entire car in “snow”.
Once applied — being sure not to miss any spots — you can leave the snow foam to sit for 10-15 minutes (or as recommended by the manufacturer). When the time is up, use your pressure washer to thoroughly rinse away all the suds. Your car is now ready for a shampoo.
3) Shampoo Wash
Car shampoo should be gently rubbed into the panel work. Using a car wash mitt, you should ensure that you wash every inch of the paintwork — even those hard-to-reach places.
Never use a sponge to shampoo your car. Sponges actually cause minor scratches to the paintwork. A microfiber wash mitt is much more suitable and should be used in slow up and down and side to side motions.
Once done, rinse thoroughly again and get ready to dry.
4) Removal of Contaminants
Contaminants that build up on your car may include chemical reactions from sun exposure, salt, grease, grime, rain, acid rain, smog, tree sap, bugs, bird droppings, tar and, iron fallout.
These contaminants can be tough to remove, and the pre-wash may not remove them all. For this, you will need something a bit stronger to help remove them.
Tar and glue removers come in the form of a spray. You can either spray your entire vehicle with the product and then rinse thoroughly or you can apply directly to the affected areas and use a microfiber cloth.
Iron fallout removers are also useful for removing the most stubborn contaminants. Simply spray the affected area, leave for a few minutes, and then rinse thoroughly.
5) Drying
There are a few methods you can use to dry your car. The most effective is using an air dryer device. However, these can be an expensive investment. Some people use a leaf blower, but it’s important to make sure it isn’t firing dirt or small particles at the paintwork. You will need to thoroughly clean the leaf blower before use.
If you don’t have a drying device, you can opt for microfiber cloths. A thick or twisted pile of microfiber cloth is most effective and helps avoid causing minor scratches to the paintwork.
6) Protect

Photo by Markus Spiske on Unsplash
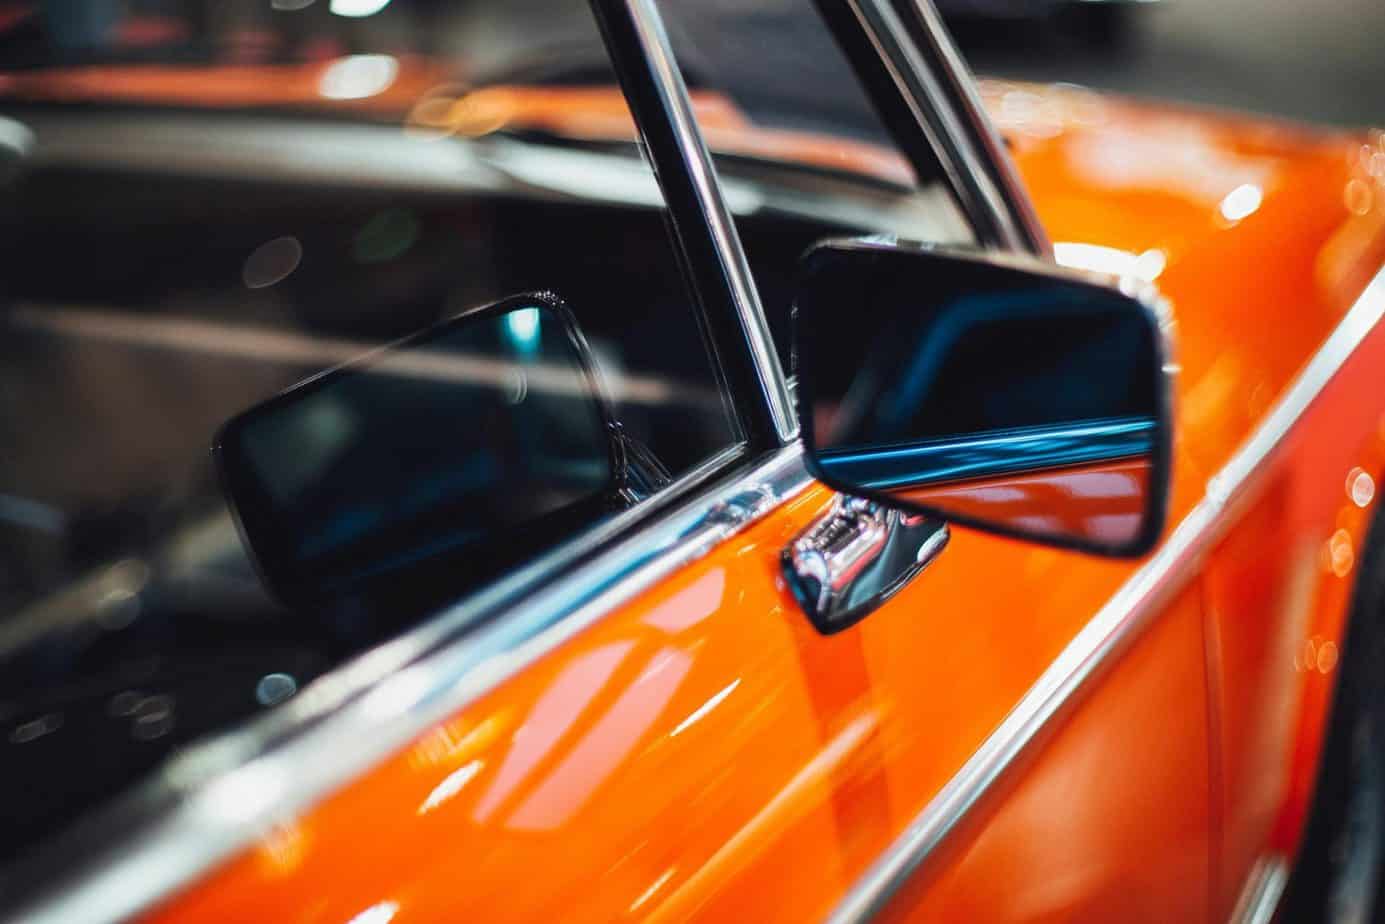
You’ve done all the hard work, so now it’s time to add a final layer of protection to your vehicle. A car sealant should be applied first to help give the paintwork a deep and high-gloss effect.
Car sealants help protect the paintwork from contaminants like road salt, bugs and, tar.
Finally, you should add a layer of wax. Car wax gives your paintwork the ultimate protection and will make it shine like brand new. It’s wise to use a wax applicator, and not a regular cloth.
You only need to wax every two to six months, depending on the wax product you use. The product’s label will tell you how often you need to apply it for the best results. Never wax your car in the sun and heat, and avoid overapplying.
7) Clean the Interior
By now, the outside of your car should look like it just left the showroom. So it’s time to head inside and start cleaning the interior.
To do this, you will need a vacuum cleaner, microfiber cloth, seat cleaner, detailing brush kit, and a glass and window cleaner. Before you start, remove all your mats and clean them separately away from the vehicle.
Using your vacuum, clean the interior and use the smaller attachments (if you have them) to get into all the nooks and crannies and under the seats. Using a detailing brush, clean the dashboard, between the seats, the side doors, and any other small hard-to-reach areas.
Using an interior-detailing product, spray a small amount into a microfiber cloth and clean all the interior surfaces. You can then wash your seats with the seat cleaner. If you have leather seats, make sure you use a leather seat cleaner.
Finally, using your glass and window cleaner, clean the windows one by one. Ensure you put the windows down so you don’t miss the top section of the window that sits within the door frame.
Your car should now look brand new. You may want to park it in the sun and open all the doors and windows to let the interior dry off.
If you complete the above steps regularly, you will keep your car in top shape, fight off depreciation as best you can, and improve the resale value when the time comes to sell.


